
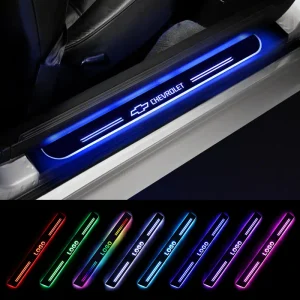


1. Preparations
a. Confirm the hub light type
– Magnetic/Adhesive: Attaches or sticks directly to the surface of the wheel without removing the tire (suitable for temporary use).
– Embedded: The tires need to be removed and the light bar embedded in the inside of the hub (more stable, but complicated to install).
– Orifle type: Powered by a valve, it is simple to install but may be less bright.
b. Tools and materials
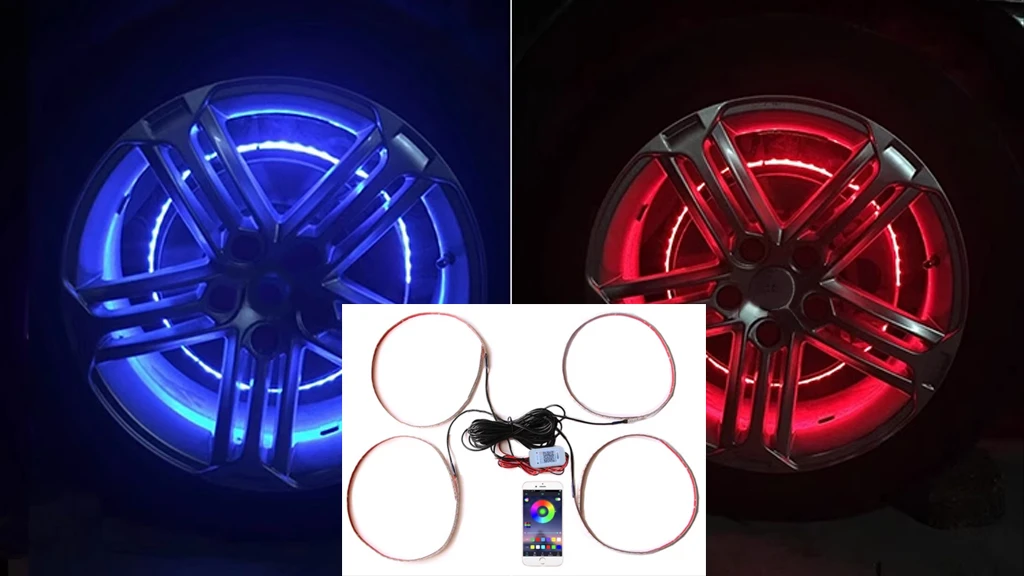
– Wheel light kit (including strip, controller, wiring harness, etc.)
– Screwdrivers, wrenches, crowbars, 3M glue
– Cable ties, electrical tapes, insulating tapes
– Jacks (if the tires need to be removed)
2. The installation steps
Solution 1: Magnetic/Adhesive Hub Lights (Easy Installation)
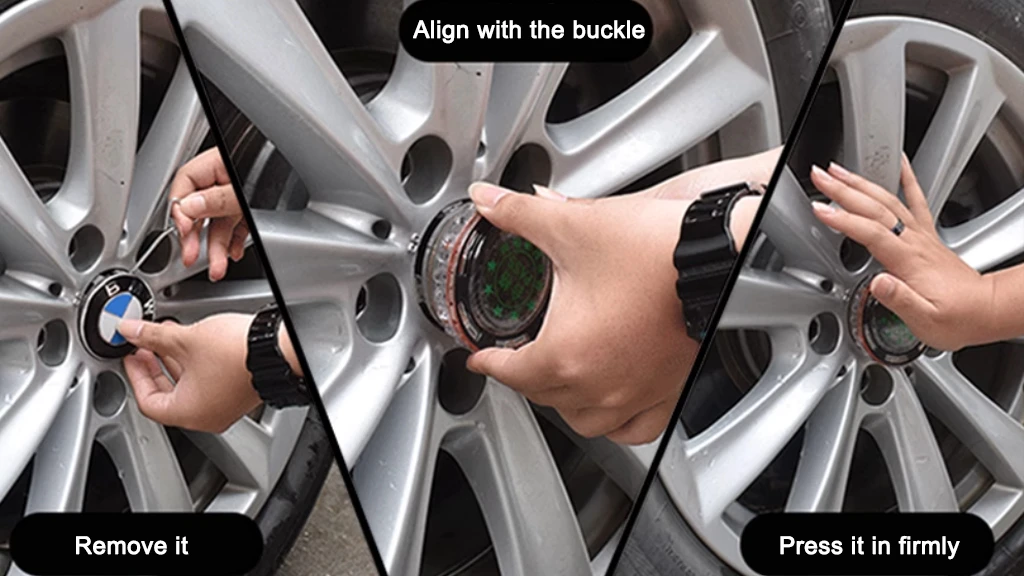
a. Clean the hub
– Wipe the surface of the hub with alcohol to make sure there is no oil and dust so that it can be firmly attached or adsorbed.
b. Fix the light strip
– Attach the light strip along the inside or outside of the hub and press to make sure it sticks firmly (if it is magnetic, it is directly attached to the metal hub).
c. Cable routing
– Hide the power cord along the inside of the suspension or wheel arch and secure it with a cable tie to avoid contact with moving parts.
d. Connect the power supply
– Usually connected to a 12V cigarette lighter or battery, make sure that the circuit is waterproof (a fuse can be installed).

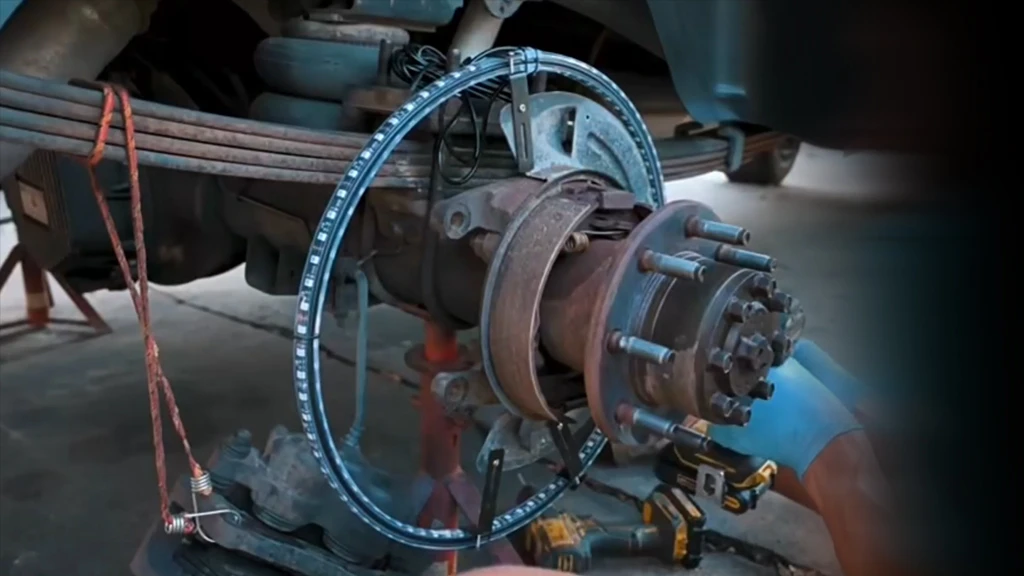
Solution 2: Recessed Wheel Lights (Professional Installation)
a. Remove the tires
– Lift the vehicle with a jack and remove the tires to expose the inside of the hub.
b. Install the strip light
– Insert the LED light strip into the inner groove of the wheel hub (some models need to be perforated) and fix it with 3M glue or screws.
c. Wiring & Controller
– Thread from the hub to the chassis and connect to the controller (waterproofing required).
– The controller can be installed in the engine compartment or in the car, and the power supply is connected to the battery (the positive and negative poles need to be correct).
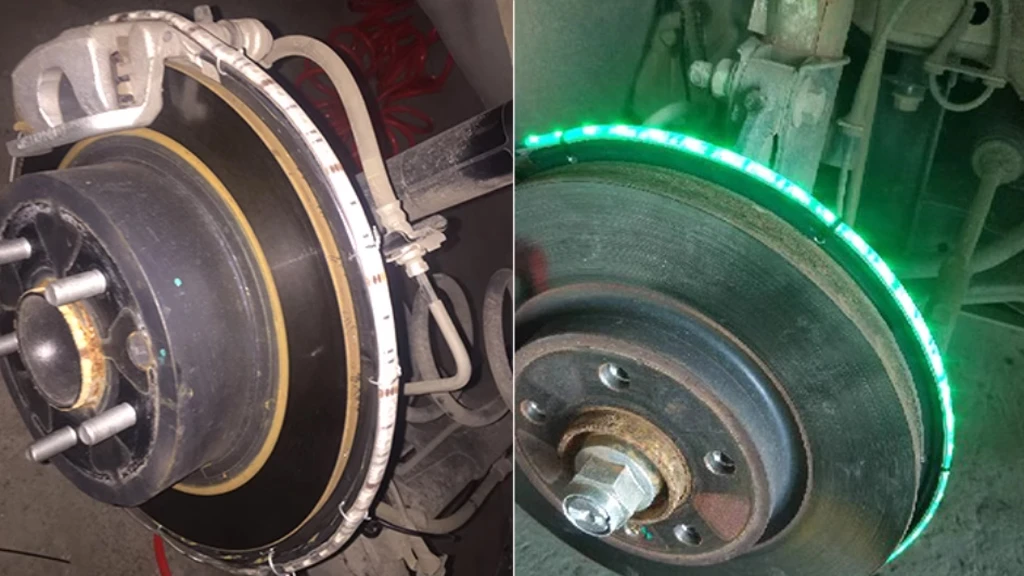
d. Test & Reset
– Test the lights before putting the tires back on to make sure the wiring harness is not pulled when the tires are turning.
3. Precautions
a. Security
– Avoid lights that interfere with the driver’s vision or others (some countries have regulatory restrictions on the color/brightness of wheel lights).
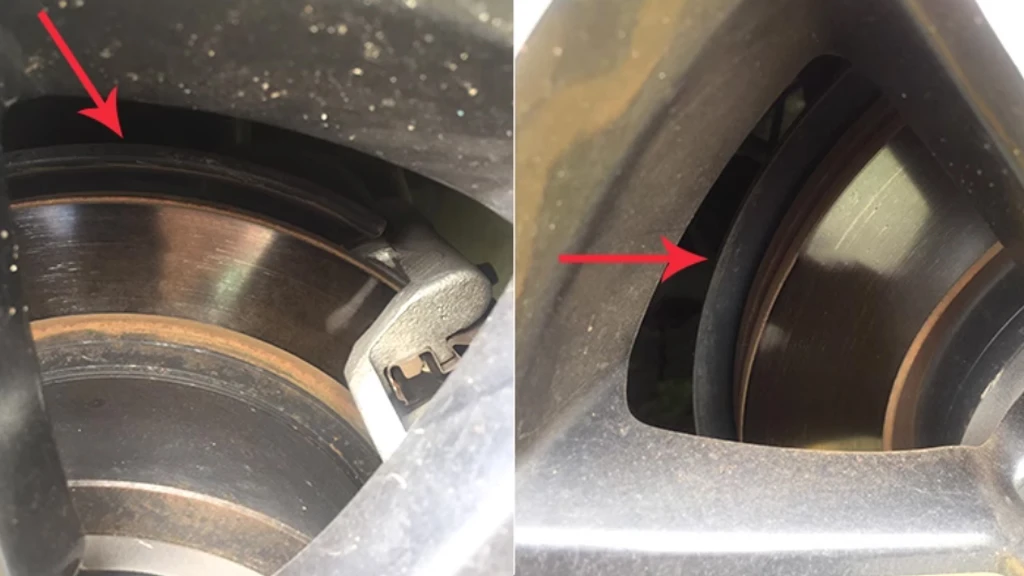
– Make sure the line is away from hot or moving parts such as brake discs, suspensions, etc.
b. Waterproof and dustproof
– Use waterproof glue to seal wiring, especially areas on the inside of the hub that are prone to splashing.
c. Power supply mode
– It is recommended to connect to the ACC power supply (the light will turn on after the vehicle starts) to avoid battery power loss.
d. Debugging
– Some hub lights are controlled by APP, and the light mode (such as breathing, flashing, etc.) needs to be adjusted synchronously.
4. Frequently Asked Questions
– The light is not on: Check whether the fuse and wiring are loose and whether the power supply is energized.
– Unstable light: It may be that the voltage is unstable or the contact is poor, it is recommended to install a voltage regulator.
– Falling off problem: The adhesive type is easy to fall off at high temperatures, so it can be fixed with screws instead.
If you are not familiar with the operation of the circuit, it is recommended to install it in a professional modification shop to avoid damaging the vehicle circuit or affecting driving safety.