

Is your Buick Enclave great? Absolutely. Could it be more head-turning, futuristic, and uniquely yours? Without a doubt. Installing a light-up front or rear emblem is one of the most dramatic yet clean customization moves you can make. It transforms your SUV’s presence from day to night, adding a signature glow that’s both stylish and functional.
Before we dive in, a crucial note: Always check your local and state vehicle codes regarding aftermarket lighting. Some areas have restrictions on colors (typically, only white or amber to the front, red or amber to the rear) and when the lights can be illuminated (often only when the vehicle is in motion, not while parked). Safety and legality come first.
What You’ll Need: Tools & Parts
Parts:
Buick Enclave-Specific Light-Up Emblem Kit (Ensure it’s for your correct model year!)
Included wiring harness, control box, and connectors.
Tools:
Trim Removal Tools (Plastic pry tools – essential to avoid scratches)
Socket Set & Wrenches
Phillips and Flathead Screwdrivers
Wire Strippers/Crimpers
Electrical Tape and/or Heat Shrink Tubing
Zip Ties
Multimeter (for testing, optional but recommended)
Painter’s Tape (for marking)
The Installation Process: A Step-by-Step Walkthrough
Step 1: Disconnect the Battery
Safety is paramount. Open the hood and disconnect the negative terminal of your 12V battery. Wait at least 10 minutes before proceeding to allow systems to power down.
Step 2: Remove the Old Emblem
Front Grille Emblem: This usually requires accessing the back of the grille. You may need to carefully remove the top shroud or parts of the grille itself using your trim tools. Once you have access, you’ll typically find clips or bolts holding the emblem in place. Disconnect any wiring for OEM sensors (like the cruise control or collision avoidance radar – if equipped, handle this with extreme care and note the connections). Remove the old emblem.
Rear Liftgate Emblem: The process is often simpler. Gently pry off the old emblem using trim tools and a hairdryer/heat gun on a low setting to soften the adhesive. Work slowly to avoid damaging the paint.
Step 3: Test Fit and Prepare the New Light-Up Emblem
Before running any wires, place the new emblem in its position to ensure a perfect fit. This is also the time to plan your wire routing path from the emblem to your chosen power source.
Step 4: Run the Wiring Harness
This is the most critical part of a clean install.
For the Front: Route the wiring harness from the back of the emblem through the grille, following existing wire looms if possible. Find a safe grommet or entry point into the engine bay. Use zip ties to secure the wires neatly away from moving parts, sharp edges, and excessive heat.
For the Rear: Route the wires from the emblem through the small access hole into the liftgate interior panel. You will need to remove the interior trim panel of the liftgate (using trim tools) to access the interior and run wires to a power source.
Step 5: Choose Your Power Source & Connection Method
You have a couple of reliable options:
Option A: Tap into Parking Lights (Recommended for Legal Compliance): This ensures the emblem lights up only when your parking or headlights are on, which is typically legal. Use your multimeter to identify the correct positive wire in the headlight or tail light harness. Use a posi-tap connector for a secure, solder-less connection to the positive wire, and connect the ground to a clean, unpainted metal bolt/screw nearby.
Option B: Connect to a Fuse Box with an Add-A-Fuse Tap: This is a very clean method. Choose an accessory fuse slot (like the one for the 12V power outlet) that turns on with the ignition. Plug in the add-a-fuse, connect your harness’s positive wire, and ground the negative wire to the chassis.

Step 6: Connect and Secure
Connect the emblem’s wiring to the harness you just ran. Seal all connections with electrical tape or heat shrink. Securely mount any included control box. Double-check that all wires are neatly bundled and secured with zip ties, with no tension or risk of chafing.
Step 7: Install the New Emblem
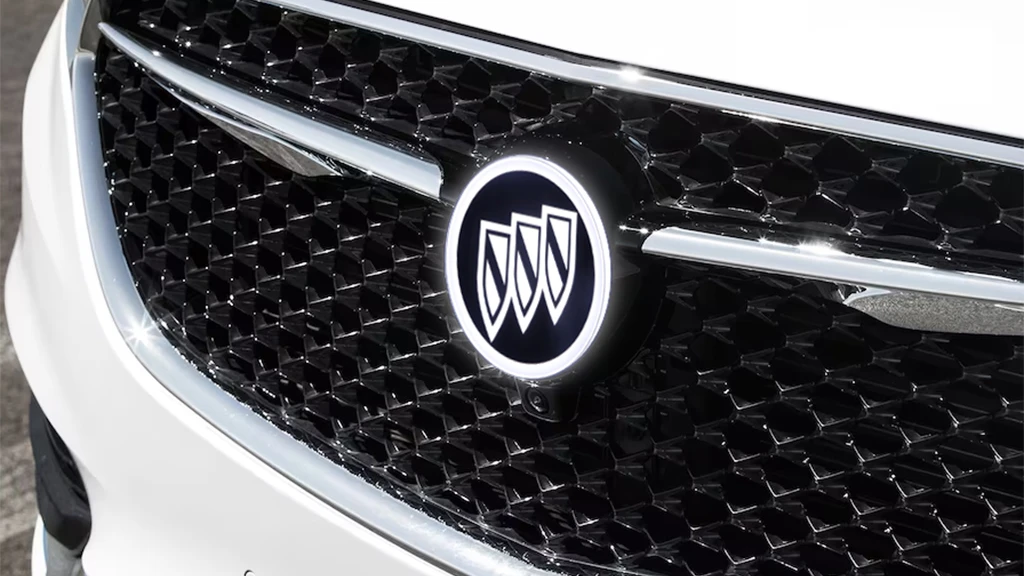
Peel off the adhesive backing and firmly press the new light-up emblem into place. For some models, you may also need to secure it from behind with provided clips or bolts.
Step 8: Final Test & Reassembly
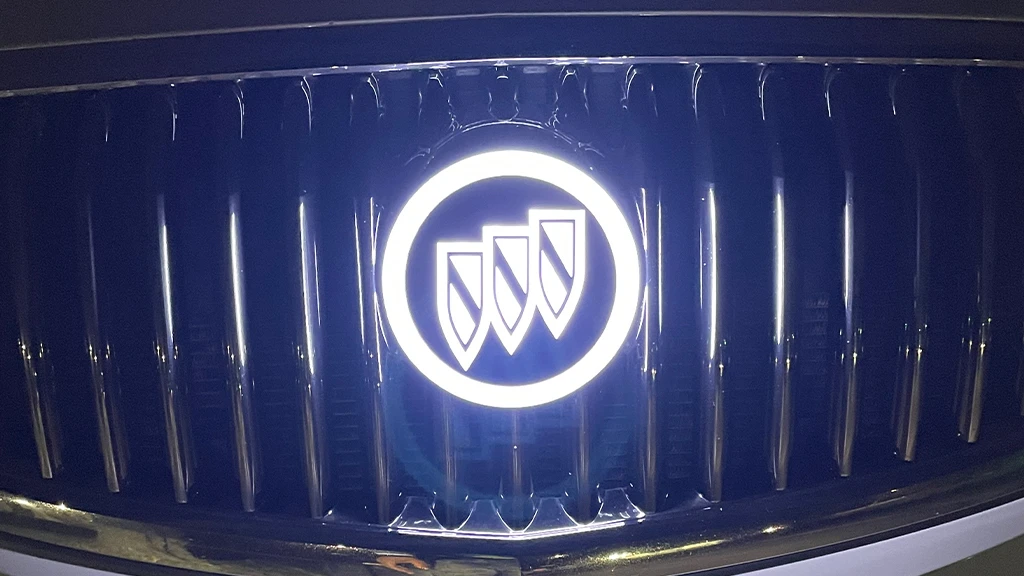
Reconnect the vehicle’s battery. Turn on your ignition and activate your parking lights. Your new Buick emblem should glow proudly! If it doesn’t, double-check all connections and fuses. Once confirmed working, carefully reinstall any grille pieces or interior trim panels you removed.
Pro-Tips for a Flawless Install
Watch a Model-Specific Video: Search for “[Your Buick Enclave Year] grille removal” or “trunk panel removal” on YouTube. Seeing it done is invaluable.
Patience is Key: Rushing with trim tools can lead to broken clips or scratches. Go slow.
Waterproof Everything: Use dielectric grease on connections and ensure the emblem’s gasket seals properly to prevent moisture ingress.
Consider a Professional: If your Enclave has advanced driver-assistance systems (like ACC radar) behind the front emblem, professional installation is highly advised to avoid costly calibration issues.
Conclusion: Enjoy Your Custom Glow!
You’ve just added a premium, custom feature that elevates your Buick Enclave’s style quotient immensely. That illuminated badge isn’t just a light; it’s a statement that you pay attention to the details.
Now, every night drive begins with a welcoming glow, and your SUV stands out with sophisticated, factory-like elegance. Well done! Drive safely and enjoy the admiring glances.
Have questions or your own installation stories? Share them in the comments below!