

The Pontiac Firebird is a certified American muscle car icon that commands respect on every highway. For decades, its legendary “Screaming Chicken” hood decal and aggressive front grille have symbolized raw power and rebellious freedom. If you are lucky enough to own or restore one of these classic beasts, you already know that keeping its heritage alive means standing out from the crowd.
One of the most impactful ways to blend vintage muscle aesthetic with modern technology is by upgrading your vehicle’s branding. Giving your car a high-tech, Pontiac Custom LED Emblem is the perfect way to turn heads at night. This guide explores the lasting legacy of this iconic vehicle and provides a step-by-step tutorial on how to install a cutting-edge LED custom emblem.
How Many People Still Love the Pontiac Firebird?
Decades after the first model rolled off the assembly line, the enthusiast community is larger and more passionate than ever.
- Thriving Online Communities: Active dedicated spaces like the Pontiac Trans Am Forum boast thousands of members sharing build progress and advice.
- Massive Digital Footprint: Viral video content continues to explode, with modern concept reviews pulling in millions of views from eager fans.
- High Auction Demand: Pristine classic models routinely fetch premium prices at elite car auctions across the United States.
- Car Show Dominance: Vintage Firebirds and Trans Ams remain star attractions at local Cars & Coffee meets and national muscle car shows.
What Kind of Car Is It, and What’s Its Current Status?
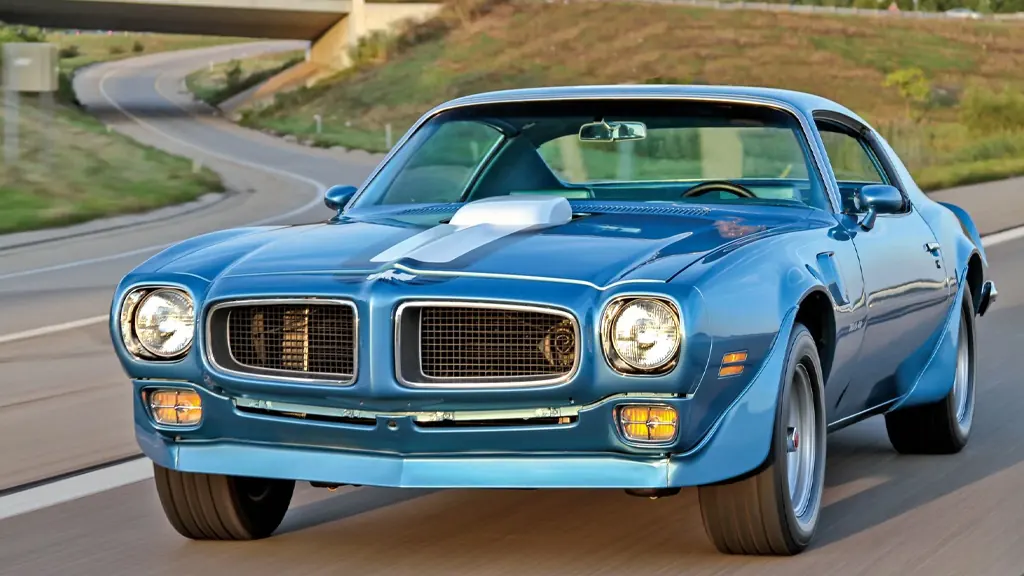
The Firebird is a legendary pony and muscle car built by General Motors to compete directly against the Ford Mustang. Originally introduced for the 1967 model year, it shared a platform with the Chevrolet Camaro but featured distinct Pontiac styling, unique engine options, and a more aggressive attitude. Production officially spanned four distinct generations before GM retired the nameplate in 2002.
Because General Motors dissolved the entire Pontiac brand in 2010, the vehicle retains an official discontinued/classic status. However, its spirit remains alive and well. The automotive market frequently sees high-end coachbuilders creating custom, neo-retro versions based on modern muscle car platforms to satisfy the massive demand for this legendary vehicle.
Pontiac Firebird Restoration and Customization
Restoring a Firebird is a rite of passage for American muscle enthusiasts. While traditional builds focus on original factory-accurate parts, the “Restomod” trend has completely taken over the customization scene. Restomodding combines classic vehicle styling with modern performance, safety, and comfort upgrades.
Common modern upgrades include dropping in a high-horsepower LS V8 engine, installing digital dashboards, upgrading to high-performance independent suspensions, and swapping out outdated factory lighting. Upgrading old, dim halogen bulbs with crisp, energy-efficient automotive LED decorative lights has become one of the most popular and affordable ways to breathe new life into a classic car body.
Give Your Firebird a Cutting-Edge Illuminated Emblem
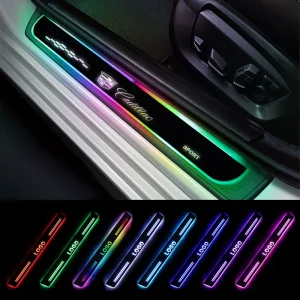
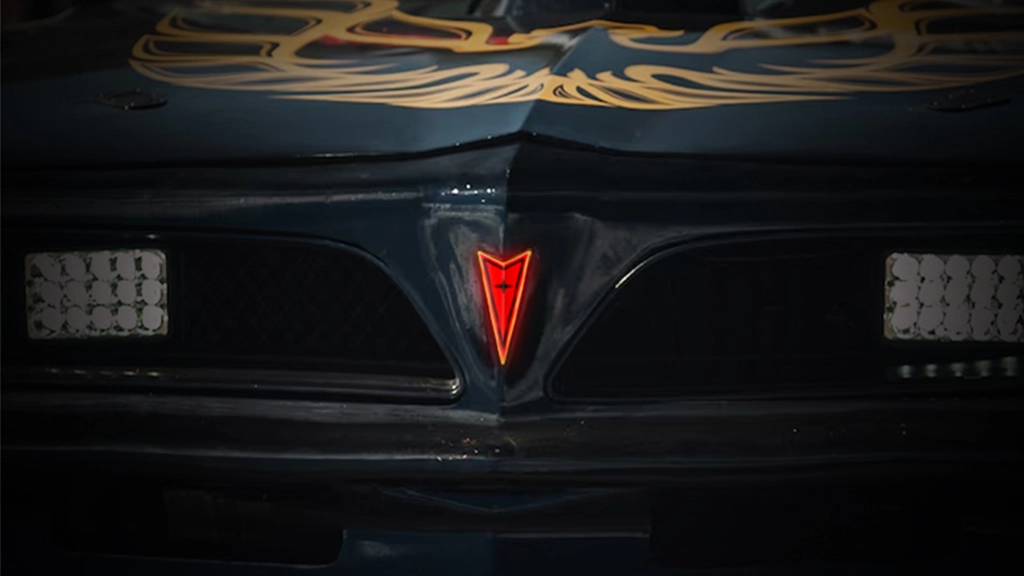
The front emblem defines the soul of the vehicle. Swapping out a faded plastic factory badge for a modern Custom LED Illuminated Firebird Emblem completely transforms the car’s nighttime presence.
These cutting-edge badges use high-density waterproof LEDs encased in durable, clear acrylic or chrome housing. When turned on, they emit a vibrant, uniform glow that traces the iconic shape of the badge. You can configure them to shine in a classic crisp white, a menacing red, or even utilize multicolor RGB flow patterns managed by a smartphone app. It is a subtle nod to the vehicle’s historic roots while loudly embracing modern aesthetic design.
Step-by-Step Installation: How to Replace and Wire Pontiac Custom LED Emblem
Installing a new illuminated badge requires basic 12-volt wiring knowledge. Follow this step-by-step DIY guide to complete the project smoothly.
Tools and Materials Needed:
- New LED Illuminated Emblem
- Plastic auto trim pry tools
- Heat gun or hair dryer
- Goo Gone or adhesive remover
- Rubbing alcohol and microfiber cloth
- 12V wire inline quick-splice connectors or soldering kit
- Electrical tape and heat shrink tubing
- Hand drill with a small drill bit

Step 1: Remove the Old Emblem
Apply gentle heat to the factory badge using a heat gun to soften the decades-old adhesive underneath. Take care not to hold the heat gun in one spot for too long to protect your paint. Use a plastic pry tool to gently lift the badge off the grille or header panel.
Step 2: Clean the Surface Area
Clean away any leftover glue residue with an adhesive remover. Wipe the entire area down thoroughly with rubbing alcohol to ensure a completely clean, oil-free surface for the new badge adhesive.
Step 3: Drill a Wire Pass-Through Hole
Locate a hidden spot directly behind where the new emblem will sit. Carefully drill a small hole just wide enough to pass the power and ground wires through into the engine bay. File down any sharp metal edges and apply a rust preventative if drilling into metal.
Step 4: Mount the New LED Emblem
Feed the wiring harness through your newly drilled hole. Peel off the protective backing of the 3M automotive adhesive tape on the back of your new LED emblem. Line it up perfectly straight, press it firmly against the car panel, and hold it in place for 30–60 seconds to guarantee a secure bond.
Step 5: Wire into Your Vehicle’s Power System
Route the wires safely through the engine bay away from any moving parts or high-heat zones. To make the emblem light up dynamically, you have two primary wiring options:
- Option A (Parking Light Sync): Splice the emblem’s positive (red) wire into your car’s factory daytime running lights or parking light wire using an inline splice connector. This ensures the emblem glows whenever your driving lights are turned on.
- Option B (Independent Switch): Run the power wire directly to your car battery through a fused relay and connect it to a dedicated switch mounted inside your cockpit.
Step 6: Connect the Ground and Test
Securely attach the negative (black) wire from the emblem to a clean, unpainted metal chassis bolt to establish a solid ground connection. Turn on your car’s accessory power to test the lights before cleaning up your workspace. Wrap all your wire splices in heat shrink tubing or high-grade electrical tape to protect them from moisture and weather elements.
Conclusion
The Pontiac Firebird represents a legendary golden era of American muscle that will never truly fade away. Upgrading your classic car with modern custom LED lighting honors its powerful heritage while ensuring it commands attention on today’s roads. Ready to give your ride a glowing transformation?