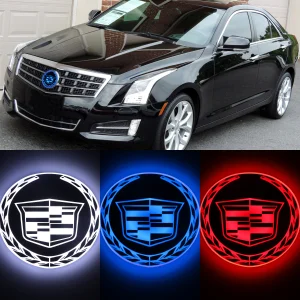
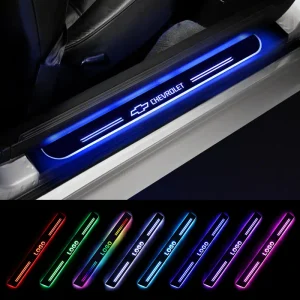
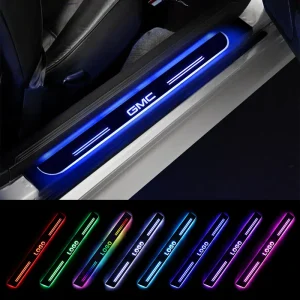
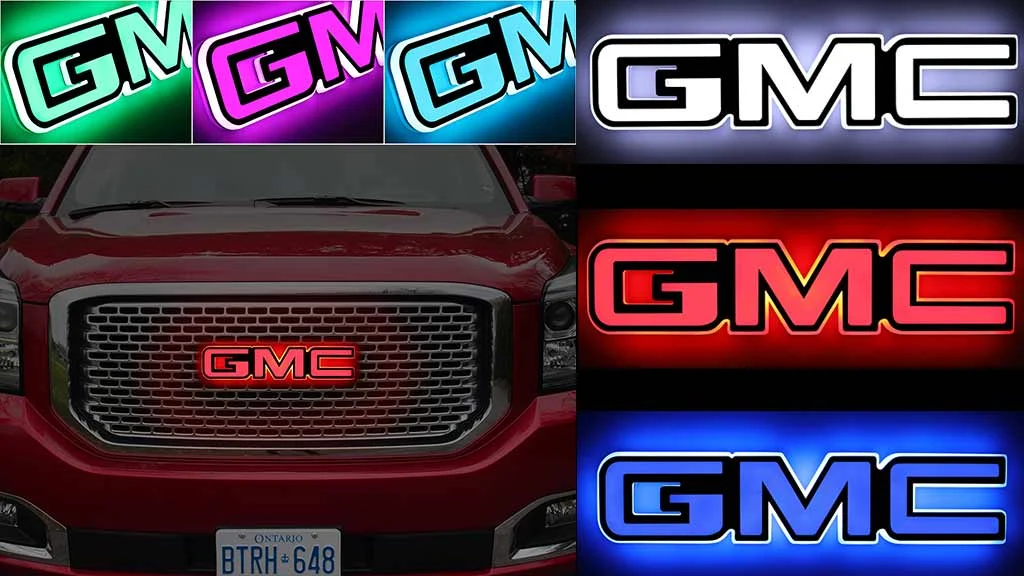
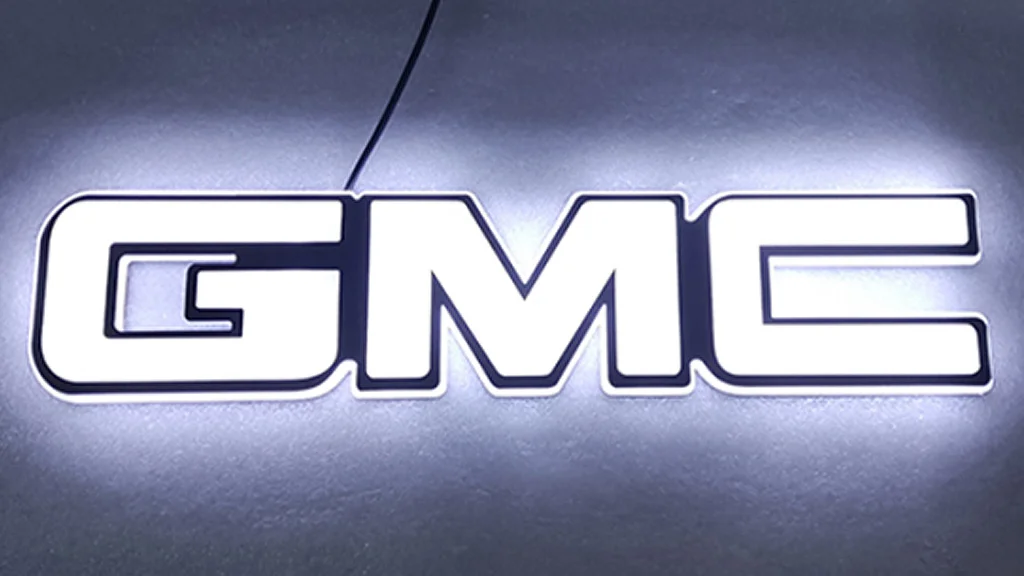
When you receive the LED GMC logo badge, you’ve been longing for, how do you install it yourself? Before we install the car emblem lights, we need to confirm that the car power supply is 12V, because the applicable voltage of the RGB GMC car badge lights is 12V.
Before starting the installation, we need to prepare the tools that may be needed, such as screwdrivers and towels. Next we need to place the towel next to the LOGO to avoid scratching the car paint during the disassembly process. The old badge can be easily pried off with a screwdriver. Then we need to clean the residual glue, double-sided tape and dust in the installation area. This will make the illuminated car badge stick more firmly.
After completing the above steps, please pass the power cord of the logo light through the guide hole of the badge installation position and into the engine compartment. If your car doesn’t have pilot holes, you may need to drill holes to feed the wires through. Next, you need to tear off the 3M tape on the back of the illuminated car emblem, stick the car emblem on the desired position on the car and press it tightly.
Now comes the most important step, wiring. Connect the power cord of the glowing badge light to the car’s power supply and it will work normally. If you don’t want the emblem light to work during the day, you can connect it to the headlight power supply and let it work together with the headlights. If you only want lighting at night, you can connect your logo badge light to your headlight. If you want it to light up while driving, you can connect daytime running lights, batteries and taillights. The specific connection scheme can be adjusted according to your preferences, but we do not recommend connecting it to the brake line.
