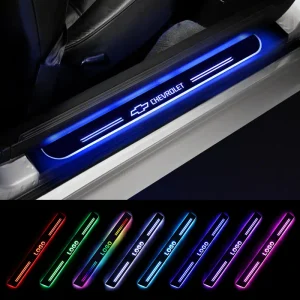
Here’s a precise breakdown of installing/replacing a Chevrolet emblem light, tailored to your exact questions:
1. Wiring Solutions & Results
- Solution A: Headlight Wiring (License Plate Wire):
- How: Connect LED power (+) to the vehicle’s license plate light circuit (shared with headlights or specific taillight wire).
- Result: Logo lights up only when headlights/parking lights are turned on. Most factory-like integration.
- Solution B: Direct to Battery (Constant Power):
- How: Connect LED power (+) directly to battery (fused!) and LED ground (-) to chassis.
- Result: Logo is illuminated any time the battery is connected. Major Risk: Can cause battery drain if the light circuit lacks a switch or timer.
- Solution C: Ignition Switched Circuit (Radio/Accessory):
- How: Connect LED power (+) to a fuse tap in Radio / Accessory (ACC) or Ignition Switch Run circuit. Add a relay for heavier loads. Ground to chassis.
- Result: Logo lights up only when the ignition is in the ACC or RUN position. Typically extinguishes with the key off.
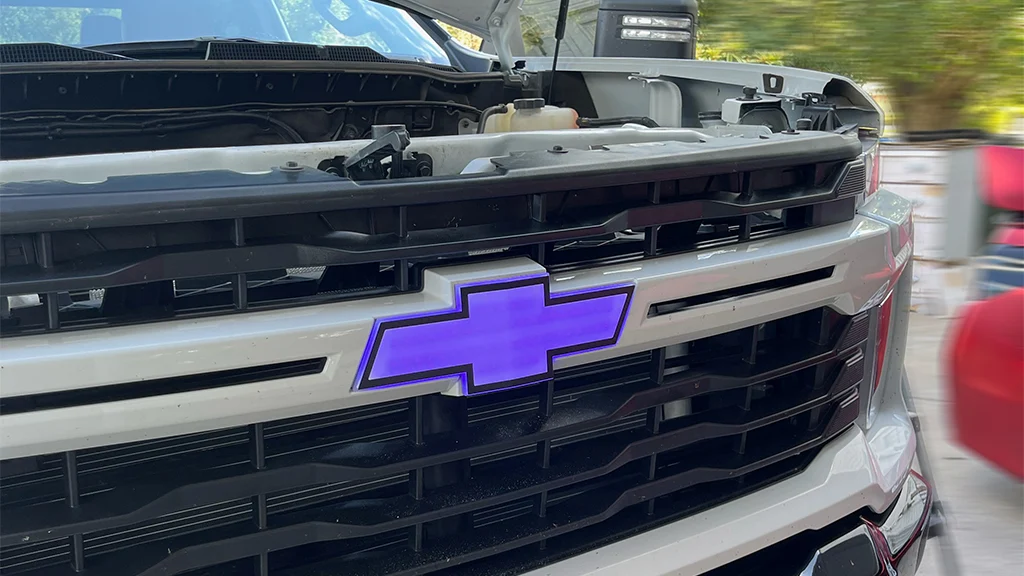
2. Preparations Needed
- Parts & Materials:
- Chevrolet Logo Light Assembly
- Wire Strippers/Cutters
- Wire Crimpers
- Quality Crimp Terminals (Butt Connectors, Spade, Ring) or Solder & Shrink Tube
- Primary Wire: 16-18 AWG stranded automotive grade. Include extra length for routing.
- In-line Fuse Holder: Sized correctly for LED load (usually 1-5A) + Lower fuse (e.g., 2A).
- Circuit Tester: Analog/Digital Multimeter (Essential!) or Power Probe.
- Fuse Tap (if connecting to fuse box).
- Relay & Pigtail Harness (optional, recommended for non-light-circuit loads).
- Zip Ties & Electrical Tape (adhesive-lined preferred).
- Safety & Access:
- Disconnect Battery (Negative terminal first!).
- Identify mounting location & access points for wiring route.
- Clean work area (decal, surrounding paint).
3. Finding Correct Wires (Critical & Vehicle-Specific)
- Source Circuit Type: Decide your solution (Headlight, ACC, etc.).
- Locate Source:
- Headlight: Target License Plate Light Wires (in trunk gate wiring harness). Avoid complex main headlight harnesses.
- ACC/Ignition: Target fuse box (Use multimeter!).
- Access Source: Carefully expose harness or locate fuse box slot.
- Verify with Multimeter:
- Positive (+) Wire: Probe suspected wire.
- Headlight (Solution A): Should show +12V only when headlights ON, 0V when OFF.
- ACC/Ignition (Solution C): Should show +12V with key ON (ACC/RUN), 0V key OFF.
- Ground to Chassis: Solid 0.0-0.2V reading.
- Ground (-) Wire: Probe suspected ground wire to chassis/battery neg. Should show continuity (< 0.5 Ohms). Solid ground connection to unpainted metal surface nearby.
- Never trust wire color alone! Colors vary by year/model. Use diagrams as a starting guess only; testing is mandatory.
- Bundled Wires: Trace carefully to avoid disrupting critical systems like tail lamps, airbags, or controllers.
- Positive (+) Wire: Probe suspected wire.
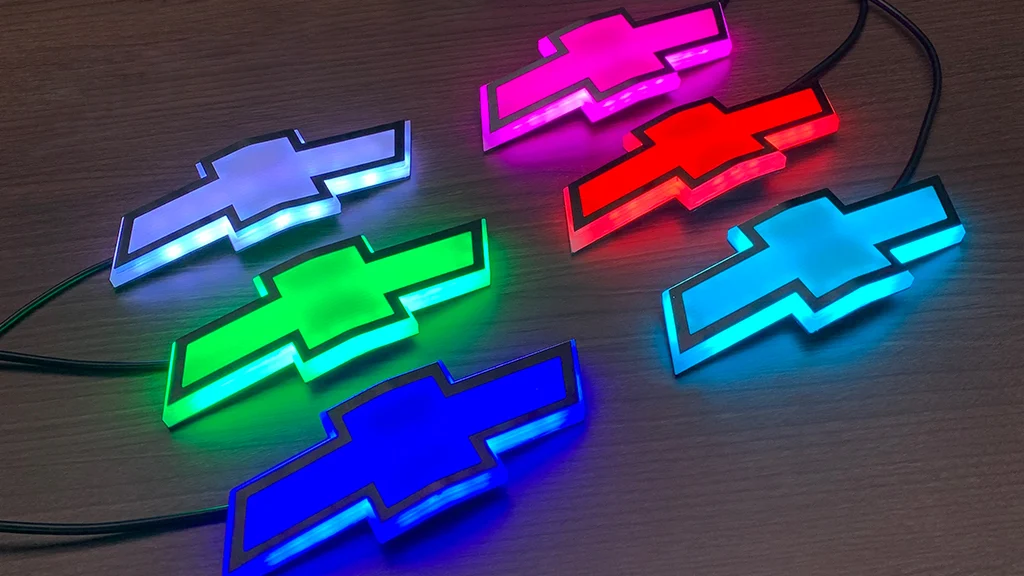
4. Wiring Precautions
- Power Disconnect: always disconnect battery Negative before starting any wiring work.
- Fuse Protection: Always install an in-line fuse on the positive (+) power wire as close to the power source as possible (battery or fuse tap output). Choose fuse amp rating lower than factory wire size to protect the circuit (e.g., 2A for typical LED).
- Secure Connections:
- No Loose Ends: Insulate every bare wire or connection point completely.
- Waterproofing: Use adhesive-lined heat shrink tube or seal crimp connectors with dielectric grease if exposure possible.
- Relay Use: Add a relay if tapping circuits not designed for extra load (like ACC/Radio circuits). Logo light typically draws ~0.5A per LED; if tap adds <0.1A on a light circuit, low risk).
- Routing Protection:
- Away from Heat/Movement: Avoid exhausts, drive belts, linkage.
- Secure Routing: Zip-tie wires to existing harnesses/looms or stable points every 4-6 inches.
- Grommets: Use body panel grommets or pass-throughs. Seal any holes with silicone or grommet plugs.
- Sharp Edges: Cover exposed metal edges with loom or tape.
- Polarity: Ensure positive (LED, usually red/orange wire) is connected to source positive. LED negative must go to chassis ground. Reverse polarity can damage LEDs.
- Avoid CAN Bus: Keep far away from any CAN Bus wiring. Tapping these can cause vehicle malfunctions.
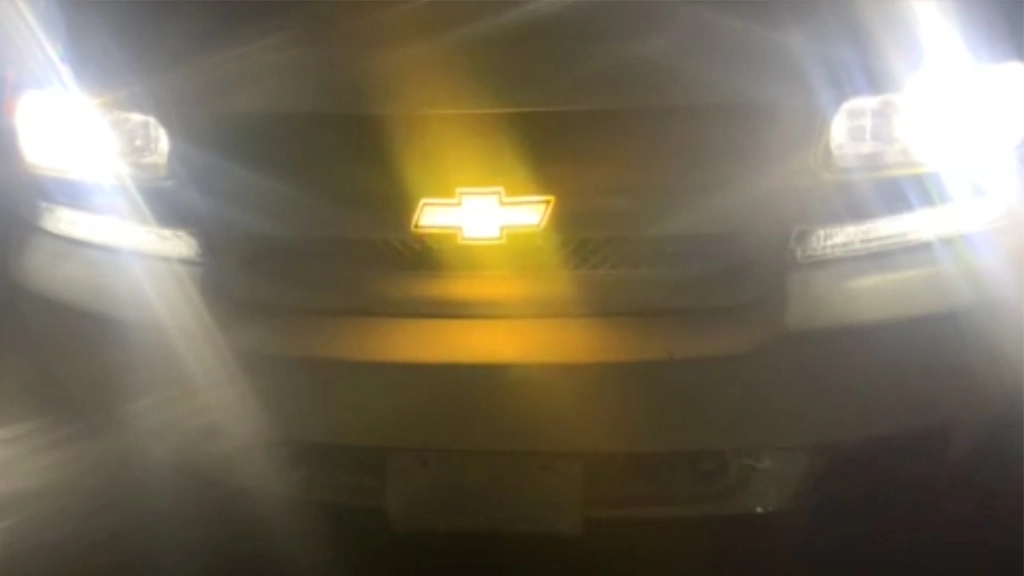
5. Storing Connected Wires
- Coil Excess: Don’t coil excess wire tightly. Form larger loops.
- Secure with Zip Ties: Bundle neatly and tie securely to static structures or factory harness. Position coils away from pinch points or moving parts.
- Use Wiring Loom/Conduit: Cover the entire accessible section of wiring with flexible split loom (conduit) for abrasion resistance and protection.
- Tuck Inside Panels: Route wires within hollow trunk lid areas or cabin trim panels. Avoid dangling wires inside the trunk near cargo.
- Avoid Moving Parts: Keep all wires clear of trunk hinges, latches, seats, etc.
- Terminal Protection: If connecting to terminals, ensure wires pull on the terminals correctly to prevent strain.
Pro Tip: If tapping the license plate circuit (Solution A), locate the ground first at the license lamp and mount the logo to the same ground area. Run only one wire (positive) to the license plate positive wire. Keep wiring localized. Disconnect the battery every time you work on the circuit!


