

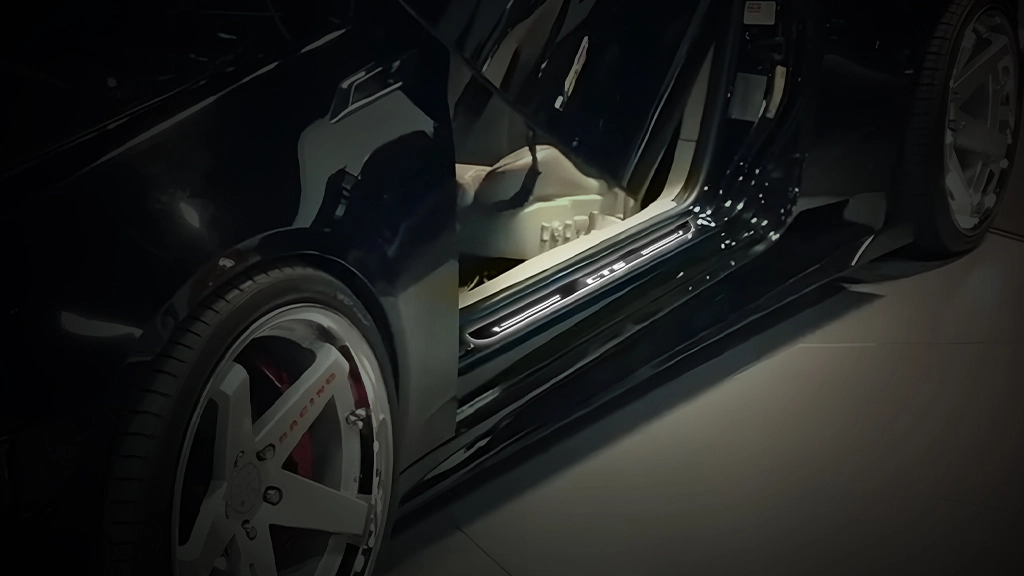
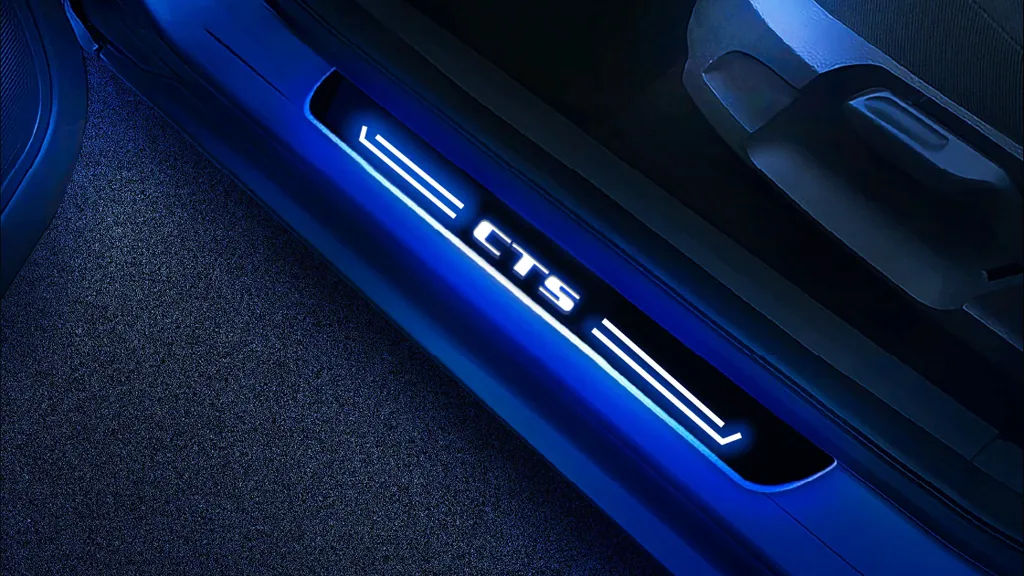
The Cadillac CTS is the perfect symbol of refined luxury and exceptional performance. As you and your passengers approach your car after nightfall, the illuminated welcome lights that greet you upon opening the door offer a unique sense of sophistication and style. The best part is that you can create an elegant and understated visual effect – far from the flashy and gaudy style of a carnival ride.
Why Choose Subdued Lighting?
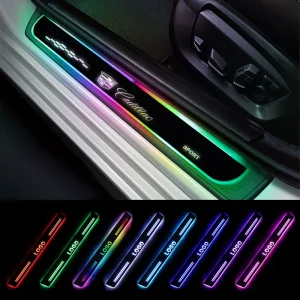
The goal is to elevate, not overwhelm. Think less “nightclub” and more “five-star hotel lobby.” That’s why white or ice blue LED lighting is the perfect choice. It complements the CTS’s interior ambient lighting scheme without clashing, creating a seamless, premium look that feels like it came from the factory that way. Some owners even note that the ideal color temperature perfectly matches the vehicle’s stock cargo and interior lights.
Option One: Wireless Battery-Powered Sills (The Simple Route)
If you want the look without messing with your car’s electrical system, wireless illuminated sills are the way to go.
Why Choose Wireless?
These are ideal for lease vehicles, anyone uncomfortable with wiring, or those who just want a fast, 15-minute project. They run on batteries and are activated by a magnetic sensor when you open the door.
How to Install No Wiring Cadillac CTS LED Door Sills:
- Clean the Surface: Thoroughly clean the factory sill area with isopropyl alcohol to remove any wax or dirt. A clean surface is critical for the adhesive to bond properly.
- Test the System: Before peeling any backing, place the new sill in position. Position the included magnetic sensor where it will trigger reliably when the door opens and closes.
- Peel and Stick: Remove the adhesive backing film from the sill. Stick it firmly in place on the door entry surface.
- Secure the Sensor: Mount the magnetic sensor per the kit instructions, ensuring it aligns with the door’s magnet to turn the lights on and off properly.
- Wait Before Driving: Do not wash the car or drive aggressively for at least 24 hours to allow the adhesive to cure fully.
Expectation Setting: Battery-powered sills are convenient, but the batteries will eventually need to be replaced every few months, and the adhesive may need to be refreshed over time
Option Two: Professional Hardwired Installation (The Permanent Solution)
For a permanent, showroom-quality finish, hardwiring is the only way to go.
Why Choose Hardwired?
Hardwired LED Cadillac CTS door sills connect directly to car electrical system. They turn on automatically when the door opens and fade off when it closes. This is the preferred method for owners who want their sills to feel like an original OEM feature.
Tools and Preparations:
Trim removal tools (plastic pry bars) to remove factory sill plates without scratching paint.
Wire strippers, posi-tap connectors, electrical tape.
A multimeter to identify the correct power source.
Heat gun (optional, for softening old emblem adhesive).
Step-by-Step Instructions:
- Remove the Old Sill Plate
Using your plastic trim tool, gently pry up the existing plastic sill plate. It is typically held by plastic clips. Slide the tool under the edge and work your way along the length to release them.
- Run the Wires
Plan the wire route from the sill location to your chosen power source. For the easiest installation, tap into the existing door courtesy light wiring, which activates only when the door is open.
- Tap into Power
Use your multimeter to locate the positive wire that receives 12V when the door is open. Use a posi-tap connector to splice your sill’s red (positive) wire into this. Connect the black (ground) wire to a clean, unpainted metal bolt on the chassis. The goal is to ensure the sills activate exclusively when a specific door is opened, which maximizes their lifespan.
- Mount the New Sill
Once the wiring is connected, test the system by opening the door. If the logo illuminates, peel the adhesive backing and press the new sill plate firmly into place.
- Reassemble and Finish
Tuck all wiring neatly and secure it with zip ties, away from moving parts. Reinstall any trim pieces you removed.
⚠️ Important Consideration for Newer CTS Models: If you own a third‑generation CTS (2014–2019) or newer, the installation process may involve more complex connections directly to the Body Control Module (BCM). In this case, professional installation is highly recommended to avoid damaging sensitive vehicle electronics and to ensure the sills function correctly.
Key Considerations Before You Start
Color Choice is Critical
White or ice blue LEDs are the safest and most sophisticated choices. They seamlessly integrate with Cadillac’s factory interior ambient lighting. Avoid colored lights (such as red or blue), which can look out of place in a luxury sedan.
Mind the Seal
Properly seal any wire connections with heat shrink tubing or good quality electrical tape. The door sill area is exposed to rain, snow, and moisture from shoes. Good waterproofing will ensure your new sills last for years.
Quick Comparison: Wireless vs. Wired
Wireless Battery‑Powered
Installation Time: 5–10 minutes per door
Difficulty: Beginner (peel & stick)
Appearance: Beginner (peel & stick)
Maintenance: Batteries need periodic replacement
Best For: Leased cars, renters, or quick upgrades
Wired Hardwired
Installation Time: 1–2 hours (or more)
Difficulty: Intermediate (wiring required)
Appearance: Intermediate (wiring required)
Maintenance: None
Best For: Permanent, OEM‑quality installation
Whatever path you choose — the peel-and-stick simplicity of wireless sills or the professional-grade permanence of hardwired — the destination is the same. Every time you open the door, that refined CTS logo will glow softly, welcoming you into a cabin that feels just a little more special.